Introduction
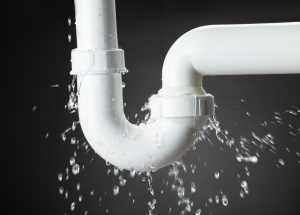
Ensuring your plumbing system is leak-free and in good working order is essential for maintaining your home’s integrity. Pressure testing your plumbing is a crucial step in detecting leaks and preventing potential water damage. In this guide, we will walk you through the process of pressure testing your plumbing, providing you with the knowledge to perform this task confidently.
What is a Plumbing Pressure Test?
A plumbing pressure test is a procedure used to check the integrity of your plumbing system by applying pressure and monitoring for any drops that indicate leaks. This test is essential when installing new plumbing, performing repairs, or conducting regular maintenance. By pressure testing your plumbing, you can ensure that your system is leak-free and functioning correctly.

Why is Pressure Testing Important?
Performing a pressure test on your plumbing helps identify potential leaks before they become significant issues. Detecting leaks early can prevent costly repairs and water damage to your home. Additionally, pressure testing ensures the overall integrity of your plumbing system, giving you peace of mind that your pipes and fixtures are in good condition.
Tools and Materials Needed
Before you begin the pressure test, gather the following tools and materials:
- Pressure gauge
- Hose and fittings
- Pipe wrench
- Bucket
- Teflon tape
- Safety goggles and gloves
Step-by-Step Guide to Pressure Testing Plumbing
1. Preparation
- Shut off the water supply to your home.
- Drain the plumbing system by opening all faucets and valves.
2. Setting Up the Pressure Gauge
- Attach the pressure gauge to a hose bib or a fixture in the plumbing system.
- Use Teflon tape on the threads to ensure a tight seal and prevent leaks.
3. Performing the Test
- Apply pressure to the system using a hand pump or an air compressor.
- Monitor the pressure gauge closely. A stable reading indicates no leaks, while a drop in pressure suggests a leak.
4. Interpreting the Results
- If the pressure remains stable for at least 15 minutes, your system is leak-free.
- If the pressure drops, inspect the plumbing for visible leaks or listen for hissing sounds indicating escaping air or water.
Common Issues and Troubleshooting

During the pressure test, you may encounter some common issues. Here are a few tips for troubleshooting:
- Low initial pressure: Ensure all valves are closed and the gauge is properly attached.
- Inconsistent pressure readings: Check for leaks around the gauge and fittings.
- Rapid pressure loss: Inspect the entire plumbing system for major leaks or damaged pipes.
What to Do if You Find a Leak
If you discover a leak during the pressure test, take the following steps:
- Shut off the pressure source: Immediately stop applying pressure to the system.
- Locate the leak: Identify the exact location of the leak.
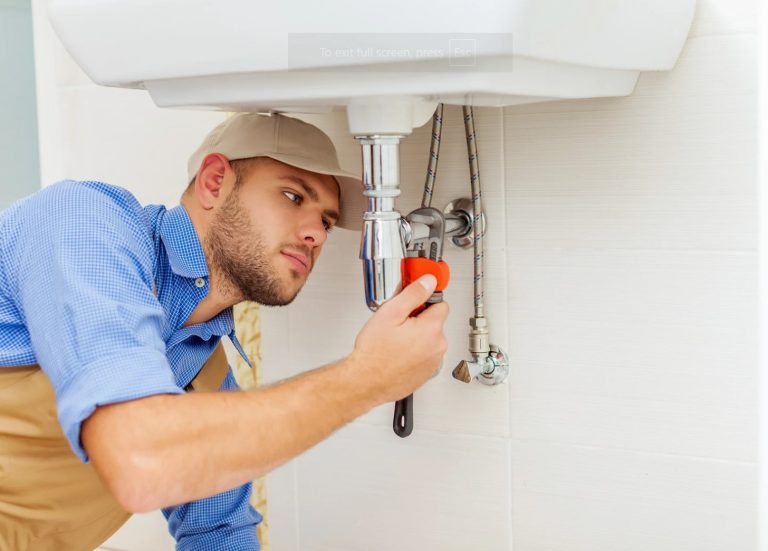
- Repair the leak: Depending on the severity, you may need to replace a section of pipe or tighten a fitting. For major leaks, consider hiring a professional plumber.
Preventative Maintenance Tips
Regular maintenance can help keep your plumbing system in top condition. Here are some tips:
- Conduct annual plumbing inspections to identify and address potential issues early.
- Keep an eye on your water pressure and address any fluctuations promptly.
- Insulate exposed pipes to prevent freezing and bursting during cold weather.
Conclusion
Pressure testing your plumbing is a vital part of home maintenance that can save you from costly repairs and water damage. By following this comprehensive guide, you can confidently perform a pressure test and ensure your plumbing system’s integrity. Regular pressure tests and preventative maintenance will keep your plumbing in excellent condition, giving you peace of mind and a safe home environment.

